WWW
World Wide Web
Computer Center
World Wide Web
1. Group webpages at DESY Zeuthen
2. Personal Webpages at DESY Zeuthen on GitLab
3. Getting Started with GitLab Continuous Integration (CI)
1. Group webpages at DESY Zeuthen
Group speakers or administrators can contact UCO to get webspace for their group on www-zeuthen.desy.de .
The AFS webspace will be available under
/afs/ifh.de/www/doc/<group> .
Required information:
1. desired URL of the website
e.g. https://www-zeuthen.desy.de/<group>
2. required webspace
3. responsible person for content
4. list of editors
5. maybe password protection or restricted access from a certain IP address
2. Personal Webpages at DESY Zeuthen on GitLab
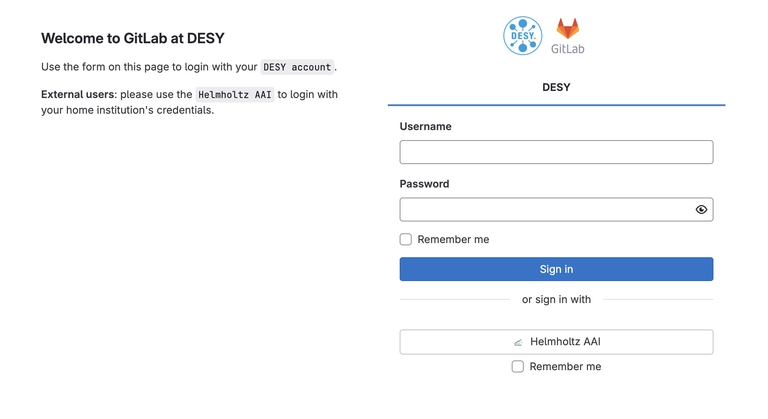
All DESY staff can create personal web pages using GitLab Pages, allowing them to upload and manage static files for a personal website. Follow these steps to set up and customize your page.
Accessing GitLab Pages
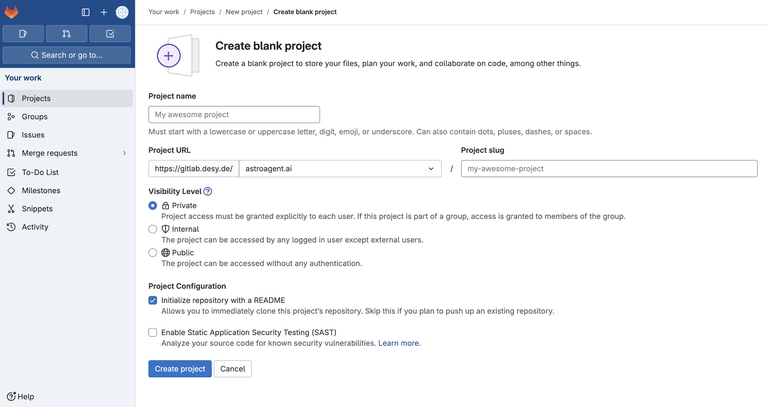
Create a New GitLab Project:
Configure GitLab Pages
To set up your project, use a terminal and follow these steps:
1.cd path/to/your/project #Navigate to your project folder
Ensure that all your HTML, CSS, JavaScript, and other static files are placed in the public directory. GitLab Pages will look specifically in this folder to serve your site.
2. git remote add origin <GitLab repository URL>
3. git add . #Add all files
4. git commit -m ”Initial commit”
5. git push -uf origin main #Push to GitLab
Collaboration Settings
-
Set Access Permissions
Navigate to Settings > General > Visibility, project features, permissions in your project.
Select a visibility level:-
Private: Only project members.
-
Internal: Logged-in users in the DESY GitLab.
-
Public: Everyone (restricted by group visibility).
Important: The visibility of projects within a group cannot be broader than the visibility of the group itself. For example, if the group is set to "Internal," all projects within the group must be "Internal" or more restricted (e.g., "Private").
-
-
Add Members
Go to Manage > Members. Enter the username or email of the person to add, select their role (e.g., Guest, Reporter, Developer, Maintainer), and click Invite.
View Your GitLab Pages URL
After enabling GitLab Pages with GitLab Continuous Integration, access your website at:
https://<projectname-uniqueID>.pages.desy.de
Or navigate to Deploy > Pages to locate the deployment URL.
Alternatively, you may use your username or group name as the domain instead of a unique identifier. If this is your preferred approach, disable the checkmark in Deploy > Pages > Domains & settings > Settings > Use unique domain.
Usernames that include a dot (e.g. @firstname.lastname) are subdomains of subdomains and do not support HTTPS. To circumvent this limitation, create a group with your username separated by a hyphen (firstname-lastname) or any other name without a dot. Either create your project directly within the group workspace or migrate it from your personal repository.
https://<groupname>.pages.desy.de/<projectname>
Limitations
GitLab Pages only supports static sites. Dynamic content such as CGI, Perl, PHP, Python, or SSI scripts are not allowed. Use an alternative server for dynamic content.
Backup and Version Control
All files are automatically backed up on GitLab’s servers. To restore a previous file version, use the Commits or Repository menu.
1. Click 'New Project' to start creating a new project on GitLab.
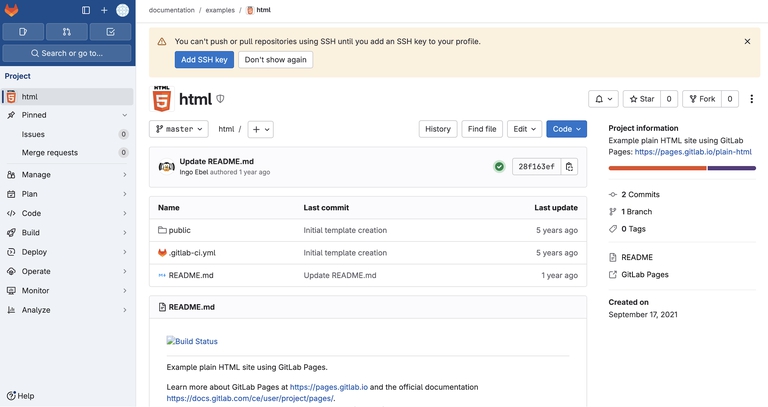
2. Set up .gitlab-ci.yml File
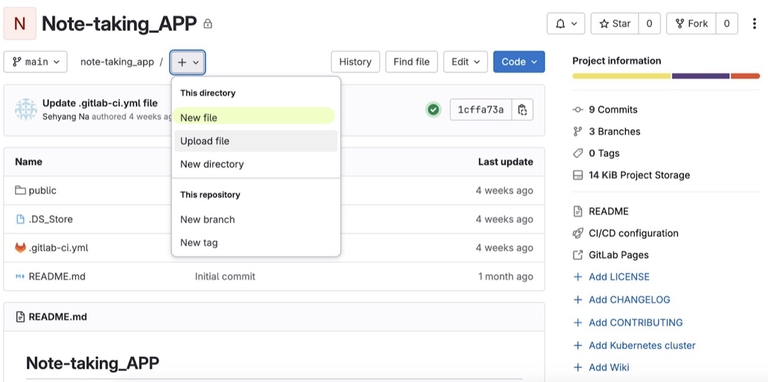
In your own project, create a new file
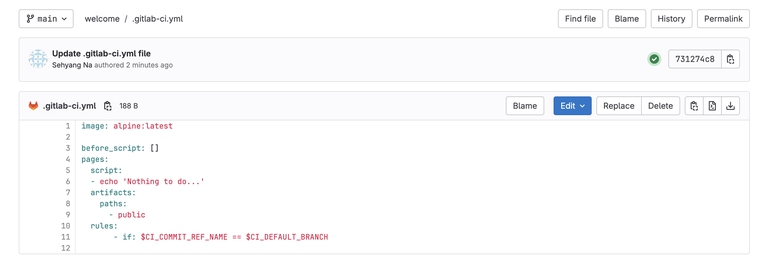
In your project, create a file named .gitlab-ci.yml and paste the copied content.
image: alpine:latest

before_script: []
pages:
  script:
  - echo 'Nothing to do...'
  artifacts:
    paths:
      - public
  rules:
    - if: $CI_COMMIT_REF_NAME == $CI_DEFAULT_BRANCH
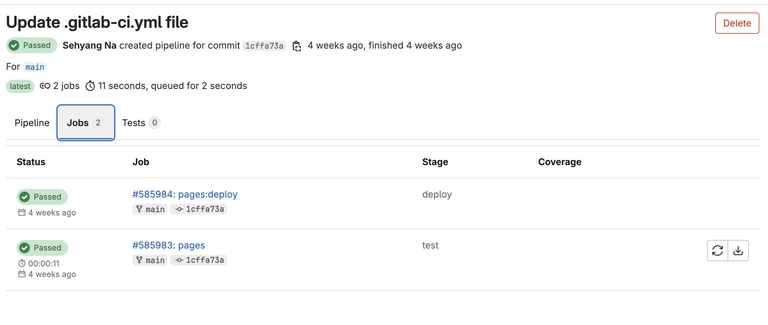
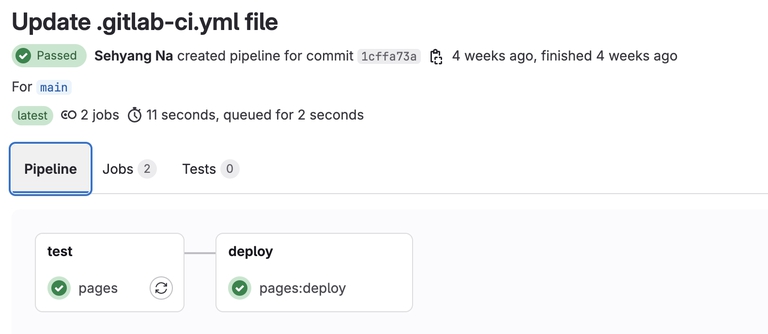
4. Monitor CI/CD Pipelines
Go to Build > Pipelines or Setting > CI/CD > Pipelines to view progress and logs.
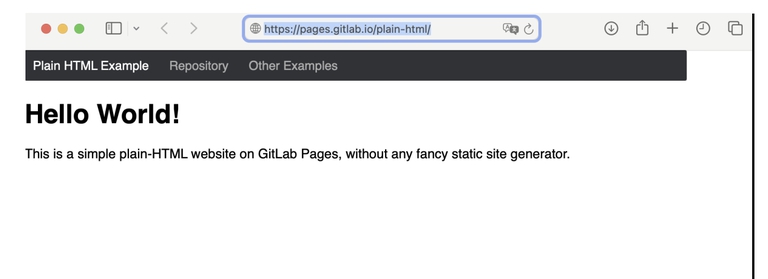
5. View the Successful Deployment
After the pipeline has run successfully, you can view the deployed page by navigating to the GitLab Pages URL
Note: This configuration supports deploying HTML files, static assets, and various static site generators.
